
Contents
Step 1: Prepare the site
Step 2: Build the frame and install the rain screen
Step 3: Example 1: Install the cladding with nails or screws
Step 3: Example 2: Install the cladding with staples
Step 4: Installing the corner strips
Elegant, imitating other materials, PVC is now a quality cladding material available in many ranges. The main advantage of this type of cladding is its weight and, therefore, its ease of installation.
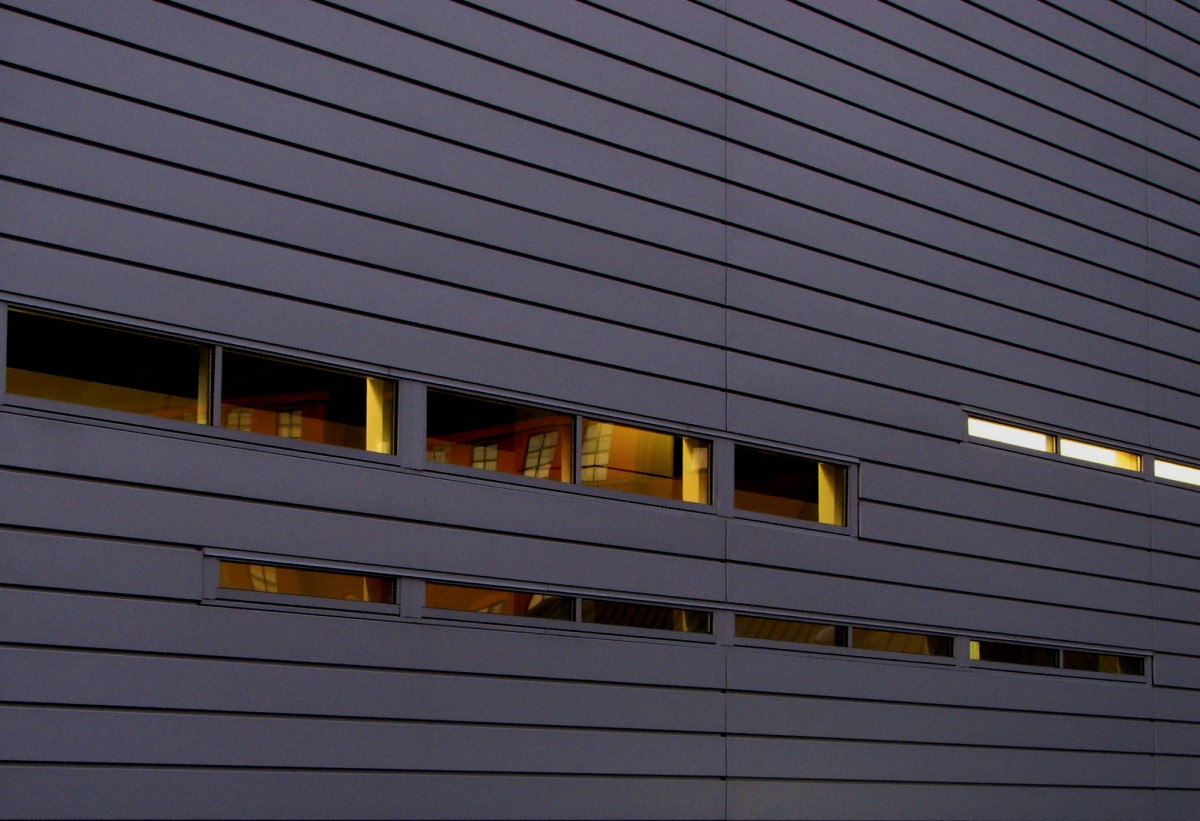
PVC cladding is installed on a wooden or metal frame, which is itself installed on a sound façade. The cladding is then installed row by row, using a laser meter to ensure that it is horizontal.
PVC is nowadays treated to resist more easily to bad weather than the old one. What makes it so attractive is that it is almost entirely maintenance-free and resistant to many factors: mould, fire, corrosion, etc.
Here are the steps for installing PVC cladding.
1. Prepare the site
A good measurement is the beginning of a good job. Measure with a tape measure or a rangefinder.
Make a material sheet: a table with the number of wooden battens for the framework, the number of nails and screws, the surface of the cladding, etc.
It would help treat cracks or micro-cracks in the facade by injecting resin or filling the most important ones with grey concrete.
2. Build the framework and install the rain screen
The framework can be wood with battens or metal with angle iron. The wooden frame is the most common.
The installation of the rain screen is covered in another fact sheet. Please refer to it.
PVC cladding can be installed using different techniques depending on the thickness of the cladding: nailing, screwing or staples.
The boards are carefully placed by interlocking: a starting profile is fixed along the rodent screen.
Please note: when installing PVC cladding, the frame battens are laid at 40 cm intervals (unless specified by the manufacturer).
3. Example1: Installing the cladding with nails or screws

If the chosen method is nailing:
- Present the cladding board horizontally (for horizontal installation). Check the level with a spirit level or rotary laser.
- Nail one end of the board. Typically, fasteners are placed on the top of the board.
- Level the blade by moving the other end.
- Nail the second end.
- Nail the middle of the blade.
- Then nail the board approximately every 40-50 cm (each time the board meets a framing strip).
3. Example 2: Installing the cladding with staples
This method of installation is more time-consuming:
- Position the first board.
- Check that it is horizontal using a laser or spirit level.
- Mark the bottom of the board on the wooden battens.
- Nail or screw the fastening clips to the marked line.
- Place the first board in the staples.
- Have staples, a hammer and screws or nails ready, depending on your chosen technique.
- Hold the first board of cladding against the façade.
- Place the staples in the groove of the board.
- Fix the staples (by screwing or nailing) to each batten.
- Repeat these steps for each cladding board to be fixed.
Note: It is not advisable to install cladding on window frames because of water infiltration. Cladding at a window is finished with masonry (finished with a corner strip) for the jambs and the top of the window. For the part below the window, the cladding should stop well before the end of the sill so that water can drain away.
4. Installing the corner strips
The finishing touches are the corner trims that complete the installation and give a new look to your home.
As the corner strips do not have a covered surface, they should be glued with a weatherproof adhesive or joined with a glue filler.
- Measure the exact length of the corner to be covered.
- Transfer this measurement to the corner strip.
- Cut the corner strip with a hacksaw or radial saw.
- Nail the strip or use a glue putty; nailing is not recommended because of the cracking problem it can cause.
You can choose whether or not to cover the window sills. If you do, make sure you do not disturb the flow of rainwater by blocking the “water drop”.
Attention: a window sill is in most cases equipped with what is called a “water drop”, which allows for good rainwater drainage. It is necessary that the cladding or the finishing strip does not block it.
Equipment for installing PVC cladding
- Drill
- Spirit level
- Paper + Pencil
- Tape measure
- Hammer
- Flat head nails
- Hacksaw
- Glue putty
- Laser Level
- Screws
- Scaffolding