
In the dynamic world of local businesses, especially those in construction, home renovation, or interior design, mastering the skill of tile cutting can significantly elevate your service offerings. This guide aims to demystify the process, presenting a step-by-step approach to cutting tiles accurately and safely, ensuring your projects shine with professionalism and precision.
Selecting the Right Tools for the Job
Understanding Your Tile Cutter Options
The foundation of a perfect tile cut lies in choosing the right tool. The market offers a variety of tile cutters, from simple manual snap cutters to electric wet saws. Your choice should align with the tile material and the project’s complexity.
- Manual Tile Cutters: Best for ceramic and porcelain tiles, offering quick, straight cuts.
- Electric Wet Saws: Ideal for cutting a wide range of tile materials, including natural stone, with precision and minimal chipping.
- Tile Nippers: Handy for making irregular cuts or small notches.
Safety Gear is Non-Negotiable
Before diving into cutting, gear up with the appropriate safety equipment. Protective eyewear and gloves are essential to safeguard against flying debris and sharp edges.
Preparing Your Tiles for Cutting

Measure Twice, Cut Once
Accuracy is key in tile cutting. Start by marking your tile with a pencil or chalk, using a straight edge or square to ensure precise lines. Double-check measurements to avoid waste and ensure a perfect fit.
Support Your Tile Properly
When using a manual cutter or wet saw, ensure the tile is fully supported and secure. This stability is crucial for clean, straight cuts and prevents tile breakage.
The Cutting Process
Using a Manual Tile Cutter
- Position the tile in the cutter, aligning the cutting wheel with your marked line.
- Press down on the handle to score the tile once along the line.
- Snap the tile by pressing down on the handle or using the snapper, depending on your cutter’s design.
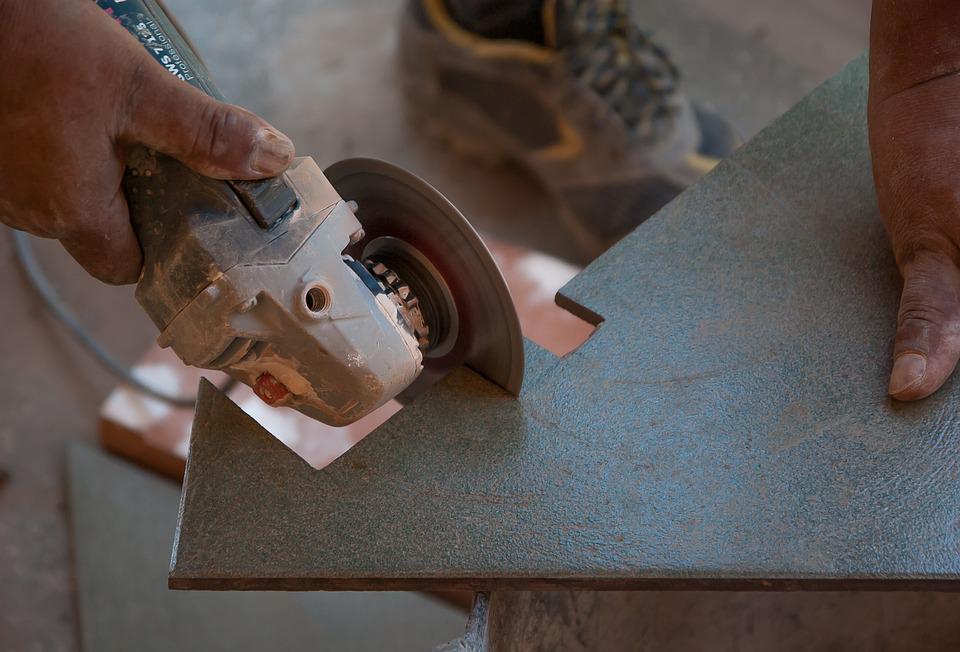
Operating an Electric Wet Saw
- Fill the saw’s reservoir with water to keep the blade cool and reduce dust.
- Turn on the saw and gently guide the tile through the blade, following your marked line. Keep your hands safely away from the blade and move the tile steadily.
Working with Tile Nippers for Special Cuts
- For small notches or curves, use the tile nippers. Score your marked line with a tile scribe to initiate the cut.
- Nibble away small pieces of the tile with the nippers, working slowly towards your line to avoid overcutting.
Finishing Touches: Smoothing the Edges
After cutting, tiles often have sharp edges. Use a rubbing stone or sandpaper to smooth these out, giving your tile a professional finish that’s safe to handle.
Best Practices for Perfect Cuts Every Time
- Always keep your cutting tools in good condition, with sharp blades and clean cutting surfaces.
- Practice on scrap tiles to hone your skills and familiarize yourself with the tools.
- For intricate cuts or if you’re working with expensive materials, consider making a template first.
Achieving Cutting Edge Results in Tile Installation
Mastering the art of tile cutting can significantly impact the quality and efficiency of your projects. Whether you’re laying a new kitchen backsplash, bathroom floor, or creating a custom mosaic, the ability to cut tiles precisely is invaluable. By selecting the appropriate tools, preparing meticulously, and following best practices, your business can achieve flawless finishes that delight clients and bolster your reputation.
We hope this guide empowers you and your team to tackle tile cutting with confidence and skill. Remember, every master was once a beginner, and perfection comes with practice.
Your Thoughts and Experiences
Have you discovered any tile cutting tips or tricks that have improved your projects? Share your insights and stories in the comments below – we love learning from the community!