
The holiday season holds a special place in our hearts, marked by cherished traditions that bring families and friends together. Among these, the act of decorating the Christmas tree stands as a central and joyous occasion. It’s not just about the ornaments and lights; it’s about crafting a visual masterpiece that captures the magic of the season. Here, we delve deeper into each step, unraveling the secrets behind creating a Christmas tree that radiates festive cheer.
**1. Choose a Theme:
Selecting a theme is the anchor of your decorating journey. Whether you lean towards a nostalgic vintage vibe or prefer a contemporary chic aesthetic, defining your theme sets the tone for the entire process. It not only guides your ornament selection but also ensures a cohesive and harmonious look.
**2. Start with Lights:
Lights are the heartbeat of your tree, infusing it with a warm and inviting glow. Consider the size of your tree when determining the number of lights needed. Begin at the base, winding the lights around the trunk before branching out to create a balanced illumination. It’s this luminous foundation that sets the stage for the festive spectacle to come.
**3. Add Garlands or Ribbons:
Garlands and ribbons introduce texture and depth, elevating your tree’s visual appeal. As you drape them, allow for a graceful flow, spiraling around the tree or cascading vertically. Experiment with different materials – burlap for rustic charm, metallic for a touch of glamour – and intertwine them seamlessly into the branches.
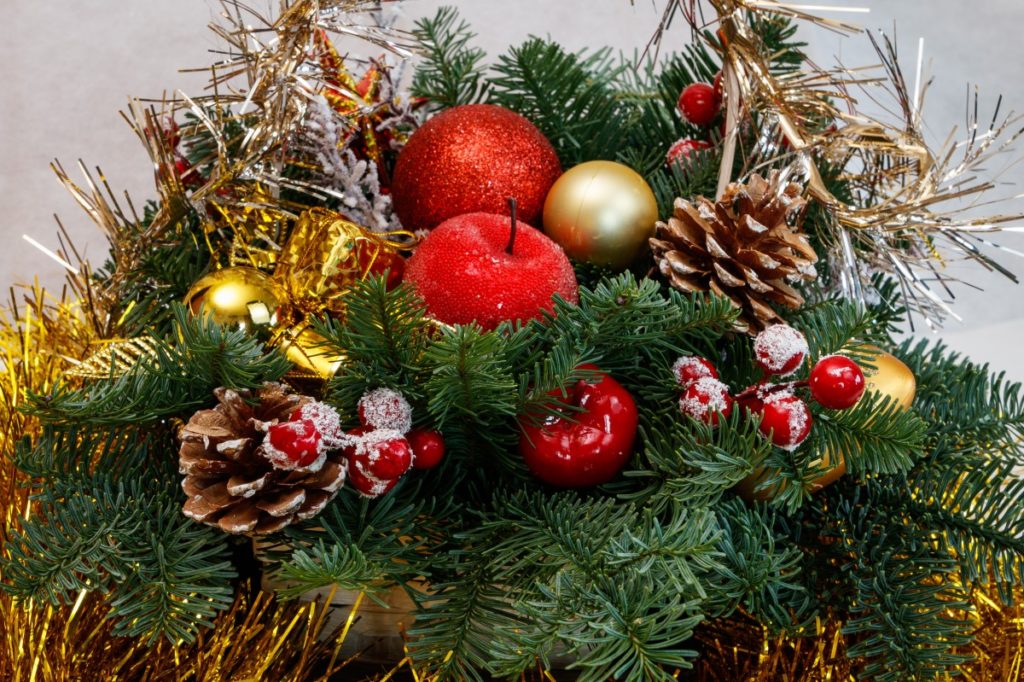
**4. Hang Ornaments with Care:
Ornaments are the storytellers on your tree, each holding a unique narrative. Start by placing larger ornaments deeper within the tree, creating layers that draw the eye in. Gradually move towards the outer branches with smaller ornaments, ensuring an even distribution. This careful arrangement transforms your tree into a captivating visual journey.
**5. Personalize with Keepsakes:
Infuse your tree with personal history by incorporating keepsake ornaments. Handmade crafts, ornaments passed down through generations, and those collected during special moments add a deeply personal touch. These cherished additions not only showcase your unique story but also evoke warm memories as you decorate.
**6. Top It Off:
The tree topper is the exclamation point at the pinnacle of your creation. Choose one that resonates with your theme – a classic star for tradition, an angel for elegance, or even a whimsical handmade creation for a touch of DIY charm. Secure it firmly, allowing it to proudly complete your tree’s silhouette.
**7. Consider Tree Skirt and Surroundings:
Extend your decorative vision to the base of the tree with a thoughtfully chosen tree skirt. This accessory conceals the stand while adding an extra layer of aesthetic appeal. Consider the overall ambiance by placing wrapped presents, coordinating decor, or even faux snow for a magical touch around the base.
**8. Step Back and Tweak:
The final step is to step back and admire your creation. Assess the overall look from different angles, making any necessary adjustments. Tweak the positioning of ornaments, ensure lights are evenly distributed, and refine the arrangement until you achieve a captivating display that reflects your unique festive style.
In conclusion, decorating your Christmas tree is more than a visual endeavor; it’s a celebration of family, tradition, and the joyous spirit of the season. Each step in this guide is a brushstroke on the canvas of your holiday memories. Embrace the creative process, revel in the festive magic, and may your Christmas tree stand as a radiant symbol of joy and togetherness throughout the holiday season.