

Summary
1. Removing a thin tile
2. Drill the tile to be removed
3. Break the tile
4. Removing tile from a thick floor tile
5. Remove the tile
6. Remove the remaining adhesive
When a tile is broken or damaged, you must remove it. This is a quick process but requires some care to avoid damaging the surrounding tiles.
To remove a tile, strip the joint around it, break it, and remove the pieces.
Note: Protect your eyes from splinters by wearing safety glasses for the duration of the work.
1. Removing a thin tile
Before removing a tile, you must remove the joints around it:
– Scrape the joints around the tile with a tile scraper.
– Make sure to scrape the joints all the way down.
If you don’t have a tile scraper, use a flat chisel and a hammer to remove the grout:
– Place the flat chisel on the joints, tilting it slightly toward you. You can replace the chisel with an old wood chisel.
– Use the hammer to tap the joint.
– Be careful not to damage the surrounding tiles.
2. Drill the tile to be removed

Start by drilling the tile to be removed. This will make it easier to remove the tile.
Equip your drill with an earthenware drill bit (or ceramic drill bit):
– Drill the tile in several places, starting in the center.
– Stick adhesive paper in the places you are going to drill. This will prevent the drill from sliding on the tile.
– Start drilling slowly, then gradually increase the speed of the drill.
3. Break the tile
Break the tile with a chisel point:
– Place the chisel in the center of the tile, positioning it over the hole you drilled beforehand.
– Give blows until the tile cracks.
4. Removing tile from a thick floor tile
If you need to remove a large, thick floor tile, use a grinder equipped with a diamond wheel to remove the joints and cut it.
4.1 Clear the joints with the grinder
Joints must be thick enough to allow the grinder disc to pass through; if they are too thin, the grinder may damage the tile.
To remove grout with the grinder:
– Turn on the grinder, tilt it down slightly and run it over the grout to clear it.
– Make sure the joints are clear all the way through. Move slowly to avoid letting the grinder slide over nearby tiles, which could crack them.
Cut the tile with the grinder
– Turn on the grinder and angle it down to cut the tile.
– Cut the tile crosswise (make both diagonals).
5. Remove the tile
Once the tile is cracked or cut with the grinder, use a flat chisel and hammer to remove the tile fragments:
– Place the flat chisel in the center of the tile.
– Hammer to loosen the pieces.
– Work from the center to the edges to remove the tile pieces without damaging the surrounding tiles.
6. Remove the remaining adhesive
Finally, remove any remaining traces of adhesive (tile glue):
– Scrape off the traces of glue with the flat chisel. Use the hammer to go faster.
– Clean up debris and dust with a brush or vacuum.
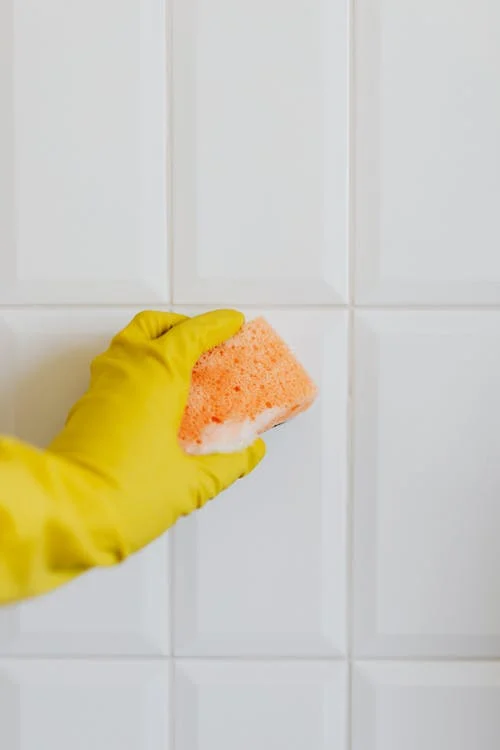
– Use a damp sponge to get rid of the last traces of dust.
Equipment for removing tile
Vacuum cleaner, depending on the performance
Flat chisel Starting at $5
Pointed chisel starting at $10
Tile scraper about $8
Safety glasses are about $6
Hammer Starting at $4
Grinder Starting at $40
Drill Starting at $30