
Summary
– Step 1: Remove the old fabric
– Step 2: Cut out the new fabric
– Step 3: Dress the seat
– Step 4: Work around the armrests on the seat
– Step 5: Dress the back and armrests
– Step 6: Install the brushed aluminium nails
Do you want to give a chair a new lease on life by giving it a new look? You can do it yourself with a little method and an essential tool, the hammer! The hardest part may be choosing the fabric…
Replacing the fabric of a chair requires no skill, provided that the upholstery is in good condition and the straps are still in good condition.
To get your chair back on the right foot and for a long time, it is advisable to choose a quality fabric.
The upholstery hammer is used on one side, like a hammer, to drive in the seeds (small nails used in upholstery), and on the other side, like a crowbar, to extract them; some are even magnetized.
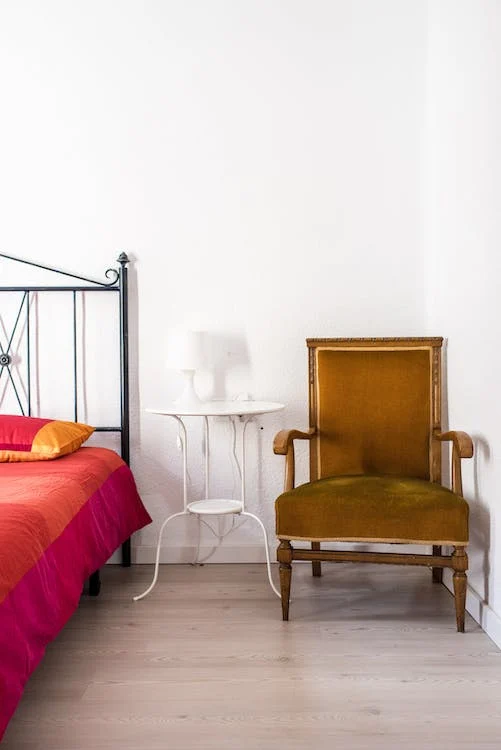
Here is how to cover an armchair. We have chosen to describe here the covering of an armchair-type Voltaire.
1. Remove the old fabric
Before covering the chair with a new fabric, remove the old one, starting with the braid.
– Find the braid’s beginning (still hidden), then pull it out.
– If necessary, use the upholstery hammer or the pair of pliers to free the fabric from the nails.
– Do the same for the back, seat and armrests.
– Remove the staples and seeds with the hammer or pliers.
2. Cut out the new fabric
– Roughly measure the dimensions of your backrest (take the widest dimension), seat and armrests.
– Using a pair of scissors, cut out the pieces of fabric corresponding to each part of the chair, plus 20 cm for the backrest and seat and 10 cm for the arms.
– Remember to consider the fabric’s straightness and the future layout of each piece (e.g., the patterns should follow each other from the back to the seat if it is a striped fabric).
3. Dress the seat

Start dressing your chair with the seat:
– Get into the proper position and sit on a low stool, so all you have to do is raise the chair and lean it against you.
– Center the fabric over the seat, overlapping it to the chair’s back, sides and front.
– Support [Hold in place temporarily, but do not push in ultimately.] the fabric :
◦ Start with the front of the seat.
◦ With seed [Small upholstery nails.], appose the fabric with the upholstery hammer.
◦ Be sure to respect the straight thread of your fabric. If it has patterns, take them into account.
◦ Turn the chair over and hold the fabric in the same manner on the back of the seat, making sure to pull it toward you before securing it.
◦ Return to the front of the chair.
◦ Remove the previously pointed seeds to stretch the fabric once again. Re-appoint the fabric.
◦ Do the same for both sides of the seat, following the same steps.
4. Proceed to the contouring of the armrests on the seat
– Fold the fabric from the base of the armrest over the seat to form a right angle.
– Pull the fabric from the angle and hold it in place by temporarily securing it to the armrest base.
– Open the fabric, using the scissors, along an imaginary diagonal that would go through one edge of the armrest and out the opposite one, stopping 1 cm before the wood.
– Fold the fabric around the armrest. Then cut a triangle around the armrest to release the fabric, fold it over and adjust the material around it. You can hold it in place by bracing it.
– Do the same on the opposite contour.
5. Dress the backrest and armrests
– Start with the top of the front backrest, pull the fabric taut as before and prop it up with the seeds and the jackhammer.
– Pull it down and secure it.
– Return to the top of the backrest and re-tension it.
– Proceed in the same way on the sides.
– Then fix the rounded parts of the backrest.
– Repeat the same steps for the backrest.
– Proceed the same way for the armrests by pinching the fabric to make it fit the rounded shape. Fix it temporarily here, too, with seeds.
6. Install the brushed aluminium nails
The nails should touch each other without overlapping and be placed at the edge of the fabric, grazing the wood.
– Cut the fabric around the entire perimeter of the seat and backrest about 1 cm from the seeds in place.
– Fold the fabric inside: remove and replace each seed, taking care not to lose any fabric tension.
– Replace the seeds with brushed aluminium nails (the upholstery hammer comes in handy because you only need one tool).
– Move forward by removing each seed and drive a row of nails into the wood’s edge as you go along.
– Continue around the entire perimeter of the seat, back and armrests.
Tip: Before you finish a row of nails, when you are two-thirds of the way through, put the last nail close to the wood, then fill in the space with as many nails as possible. This will give you perfectly executed nail lines.
Materials needed to cover a chair
Round-tipped scissors
Brushed aluminium nails
Upholsterer’s hammer
Tape measure
Pair of pliers
12 mm seeds
Fabric
Hope this post will be helpful. If you are not confident doing that task, you can call a professional to get the job done.