

Preparing for a successful appliance installation is crucial for ensuring a smooth transition to your new appliances. By following essential tips, you can minimize potential challenges and maximize efficiency in your home. Understanding key aspects such as accurate measurements, plumbing and electrical requirements, and effective communication with your installers can set the stage for a hassle-free experience. Embrace the excitement of your new appliances by equipping yourself with the knowledge needed for a seamless installation process.
Measuring Your Space Accurately
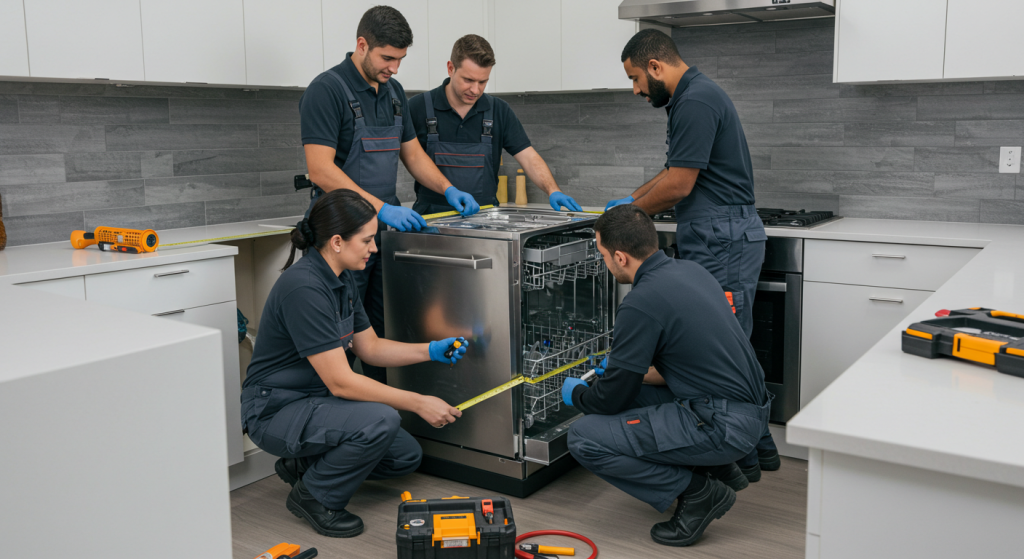
Before anything else, accurate measurements are paramount. Take the time to measure the width, height, and depth of the designated area for your new appliance. Don’t forget to account for doorways, hallways, and staircases the appliance must navigate through. Leaving adequate clearance for ventilation and access to connections is essential.
- Measure the space where the appliance will go.
- Consider nearby cabinetry or plumbing that could interfere with fitting.
- Always refer to the installation manual for space specifications.
By accurately measuring your space, you’ll not only select the right appliance but also avoid unnecessary delays during the installation process. Take these kitchen installation tips to heart to find your journey to a successful appliance installation.
Understanding Plumbing and Electrical Requirements
A solid understanding of your home’s plumbing and electrical needs is crucial for a successful appliance installation. Start by checking that the connections in your home are compatible with your new appliance. For kitchen installations, focus on the location of water supply lines and drains—particularly for dishwashers and refrigerators. Make sure shut-off valves are easily accessible.
When it comes to electrical requirements, ensure that the outlet voltage aligns with the appliance specifications. High-power appliances, such as ovens and dryers, often necessitate dedicated circuits. Acquainting yourself with your home’s plumbing and wiring layout can save you from unforeseen installation issues. If adjustments are required, consulting a professional beforehand is a wise move, granting you peace of mind on installation day.
Communicating Effectively with Installers
Once the day arrives for the actual installation, effective communication with your installers is vital. Confirming appointment details, such as arrival time and expected duration, is the first step in ensuring a well-coordinated process. Be clear about any specific wishes or concerns you may have, including particular areas of your home to avoid or preferences regarding appliance placement.
Engage in a conversation to understand the installation steps involved and anticipate any additional requirements. Having necessary documents, like purchase receipts and installation manuals, on hand will greatly aid communication. This proactive approach sets the stage for a cooperative relationship with your installers, which can dramatically enhance your overall experience.
Troubleshooting Common Issues
Even with meticulous planning, minor hiccups can occur on appliance installation day. It’s helpful to understand some common challenges and their solutions. In instances where an appliance does not fit as expected, double-check your measurements against the specifications provided by the manufacturer. For electrical issues, confirming that outlets and circuits are suitable for your appliances is paramount.
Plumbing issues may arise as well—be on the lookout for leaks and ensure all valves function as they should. Occasionally, appliances may malfunction temporarily due to minor oversights during setup, such as leaving packing materials on or neglecting to secure transit bolts. Being prepared to troubleshoot can alleviate stress and keep the installation process moving smoothly. When troubles arise, a quick call to customer service or the installation team can often provide the necessary assistance.
Post-Installation Checklist
After your new appliances have been successfully installed, follow a post-installation checklist to ensure every detail is in order. Begin by checking that all appliances are level, securely positioned, and free from potential operational issues. Validate that all connections, whether electrical or plumbing, are tight and leak-free, and ensure that ventilation systems, such as range hoods, are properly installed.
Testing and Familiarizing Yourself with Appliances
Take time to test each appliance, adhering closely to the manufacturer’s instructions to ensure they function as expected. Familiarizing yourself with the features and settings can maximize usability while maintaining your appliances in optimal condition. Don’t forget to clean your new appliances and their surrounding spaces to preserve the freshness of your kitchen. Also, keep a file of all documentation, warranties, and manuals organized for future reference.
Optimizing Your Laundry Room Setup
Once your laundry appliances are installed, optimizing the workspace is the next step to foster efficiency. Evaluate the layout of your laundry room—confirm that appliances allow for easy accessibility and workflow. Consider streetwise additions like shelves for laundry supplies and sufficient counter space to facilitate sorting and folding. Hanging rods for air-drying delicate items can greatly expand functionality.
While ensuring that your washer and dryer are level to mitigate excessive vibrations, verify that all water hoses and electrical connections are secure. Adequate ventilation is crucial to prevent moisture buildup, contributing to a pleasant laundry experience. Implementing these strategies will not only maximize space but also streamline your laundry routine.
To elevate your home with expert service, consider consulting J.C. Appliances, where they offer top-notch appliance installation and related services.