
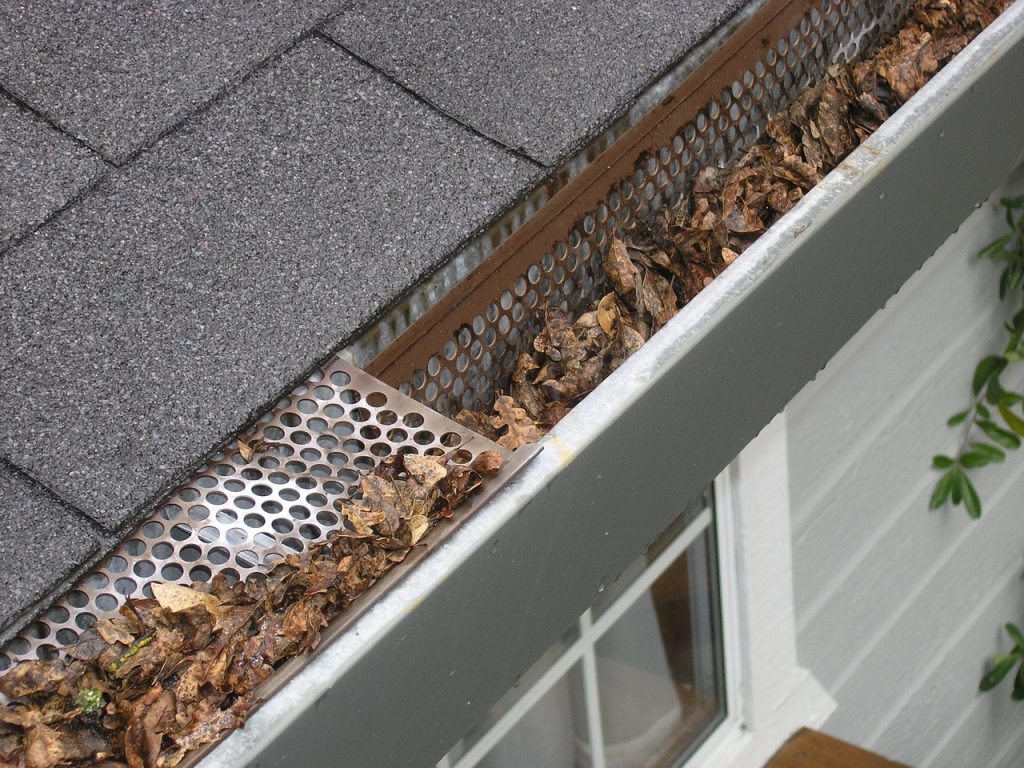
Leaf guard installation serves as an innovative solution in the realm of gutter maintenance. By effectively preventing clogs, these systems protect your home from potential water damage caused by overflowing gutters. Homeowners have recognized the need for efficient rainwater management, especially in locations prone to heavy rainfall. The design of a leaf guard typically incorporates a reverse-curve mechanism. This feature allows water to flow into the gutter while deflecting leaves and larger debris, ensuring a clog-free experience. With this technology, property owners can reduce the frequency of gutter cleaning and maintenance, which often requires climbing ladders and can pose safety risks.
Preparation for Effective Leaf Guard Installation
Before diving into the installation process, it is essential to prepare adequately. This preparation includes gathering the right tools and assessing your existing gutter system’s condition. You’ll need a stable ladder, safety gloves, a measuring tape, and specific tools like tin snips and a drill.
Safety should always be a priority. Working from heights can be hazardous; therefore, it’s crucial to use a sturdy ladder and wear protective gear. First and foremost, inspect the gutters to ensure they are free from debris. It’s also advisable to check the structural integrity and ensure that hangers are correctly spaced—ideally no more than 30 inches apart—to avoid sagging that can impair functionality.
Cleaning the gutters thoroughly is a critical step before installation. This involves removing leaves, shingle grit, and any accumulated debris. Following the manual cleaning, a thorough flushing of the gutters and downspouts with water guarantees proper drainage and confirms that there are no blockages.
- Safety Gear: Gloves, goggles, and a sturdy ladder.
- Measurements: Accurate measurement of gutter lengths and required materials.
- Tool Kit: Tin snips for cutting, a drill for securing, and measuring tools.
This preparatory stage not only ensures a smooth installation process but also contributes significantly to the longevity and effectiveness of the leaf guard system.
Step-by-Step Guide to Leaf Guard Installation
The installation process for leaf guards requires careful attention to detail. Initially, one must measure the gutters and cut the leaf guard panels accordingly. These panels typically come in standardized lengths, often around ten feet. It’s essential to start the installation at one end of the gutter run to achieve a seamless installation.
Position the back edge of the guard against the fascia board or the roof’s drip edge. This positioning is crucial, as it ensures that the guard sits flat, allowing efficient water flow. Overlapping sections by an inch when joining the panels is necessary to create a continuous barrier against debris.
Securing the panels involves driving screws through designated points to hold them firmly in place. Typically, screws should be spaced every 24 inches and at each overlap to prevent movement and maintain structural integrity. For existing gutters with traditional hangers, the leaf guard sits flush on top, ensuring that it can withstand any environmental pressures, including heavy snowfall.
Common Challenges and Their Solutions
During the installation process, one might encounter various challenges. For example, handling complex rooflines or installing over steep pitches can complicate the installation. Using prefabricated corners simplifies the process, but field-forming the panels may sometimes be necessary.
Precise cutting around downspout outlets is also crucial. An access point should be left clear to ensure easy inspections and maintenance, as some debris may still accumulate over time. If areas of high water flow are present, utilizing a diverter can help direct water flow appropriately and prevent overflow.
With the right techniques and troubleshooting strategies, these challenges can be effectively managed, leading to a successful installation that will serve to protect the home for years to come.
Post-Installation Care and Monitoring
Once the leaf guard system is installed, conducting a post-installation inspection ensures everything is functioning correctly. This involves conducting a hose test to simulate rainfall and observing how water flows into the gutters. Look for any signs of overflow, particularly at corners or joints, as these areas can be critical for effective drainage.
While the leaf guard significantly reduces the need for frequent gutter cleaning, some maintenance is still required. Fine debris such as shingle grit, pollen, and seed pods can accumulate over time. Regular checks — ideally once per season — allow homeowners to brush away any buildup and ensure optimal functionality.
For homeowners who want reliable leaf guard installation and long-term gutter protection, partnering with a specialized company like Durham Region Roofing Ltd ensures proper fitting, optimal performance, and reduced maintenance year-round.